In our dry climate, nothing makes more sense than a wicking bed. For those that don't know what one is, it's a garden planter/pot that is entirely closed (no drainage holes) and the water is put directly into the base of the pot and the soil "wicks" the moisture up. A physical barrier prevents the soil from mixing into the water at the base. This link to a Gardening Australia youtube clip is how we've made ours.
We've made a few with this design but have used different materials for the base and the barrier, but have always made them from IBC's. They are a great design as one pod (IBC) makes two wicking beds which are a good size for a garden bed. We made one at the beginning of 2020 for Chloe (who is not a gardener) to have some herbs in - the herbs did very well so when we came back to visit early this year, we made another and planted it up. For these ones we used blue metal off the side of the road. One bed we used geotech fabric and the other we used some shade cloth. Both had compost as the soil component.


Recently we made some out at Aramac. We used red pebbly rock for the base, and two beds had geotech fabric, one had hessian bag and another had some old shade cloth as the barrier. We used soil from the yards and it's now over a month since they were made and the plants look amazing! I haven't taken recent photos, but everything is growing really well and I've been eating mizuna and tatsoy. The rest of the plants are flowering.


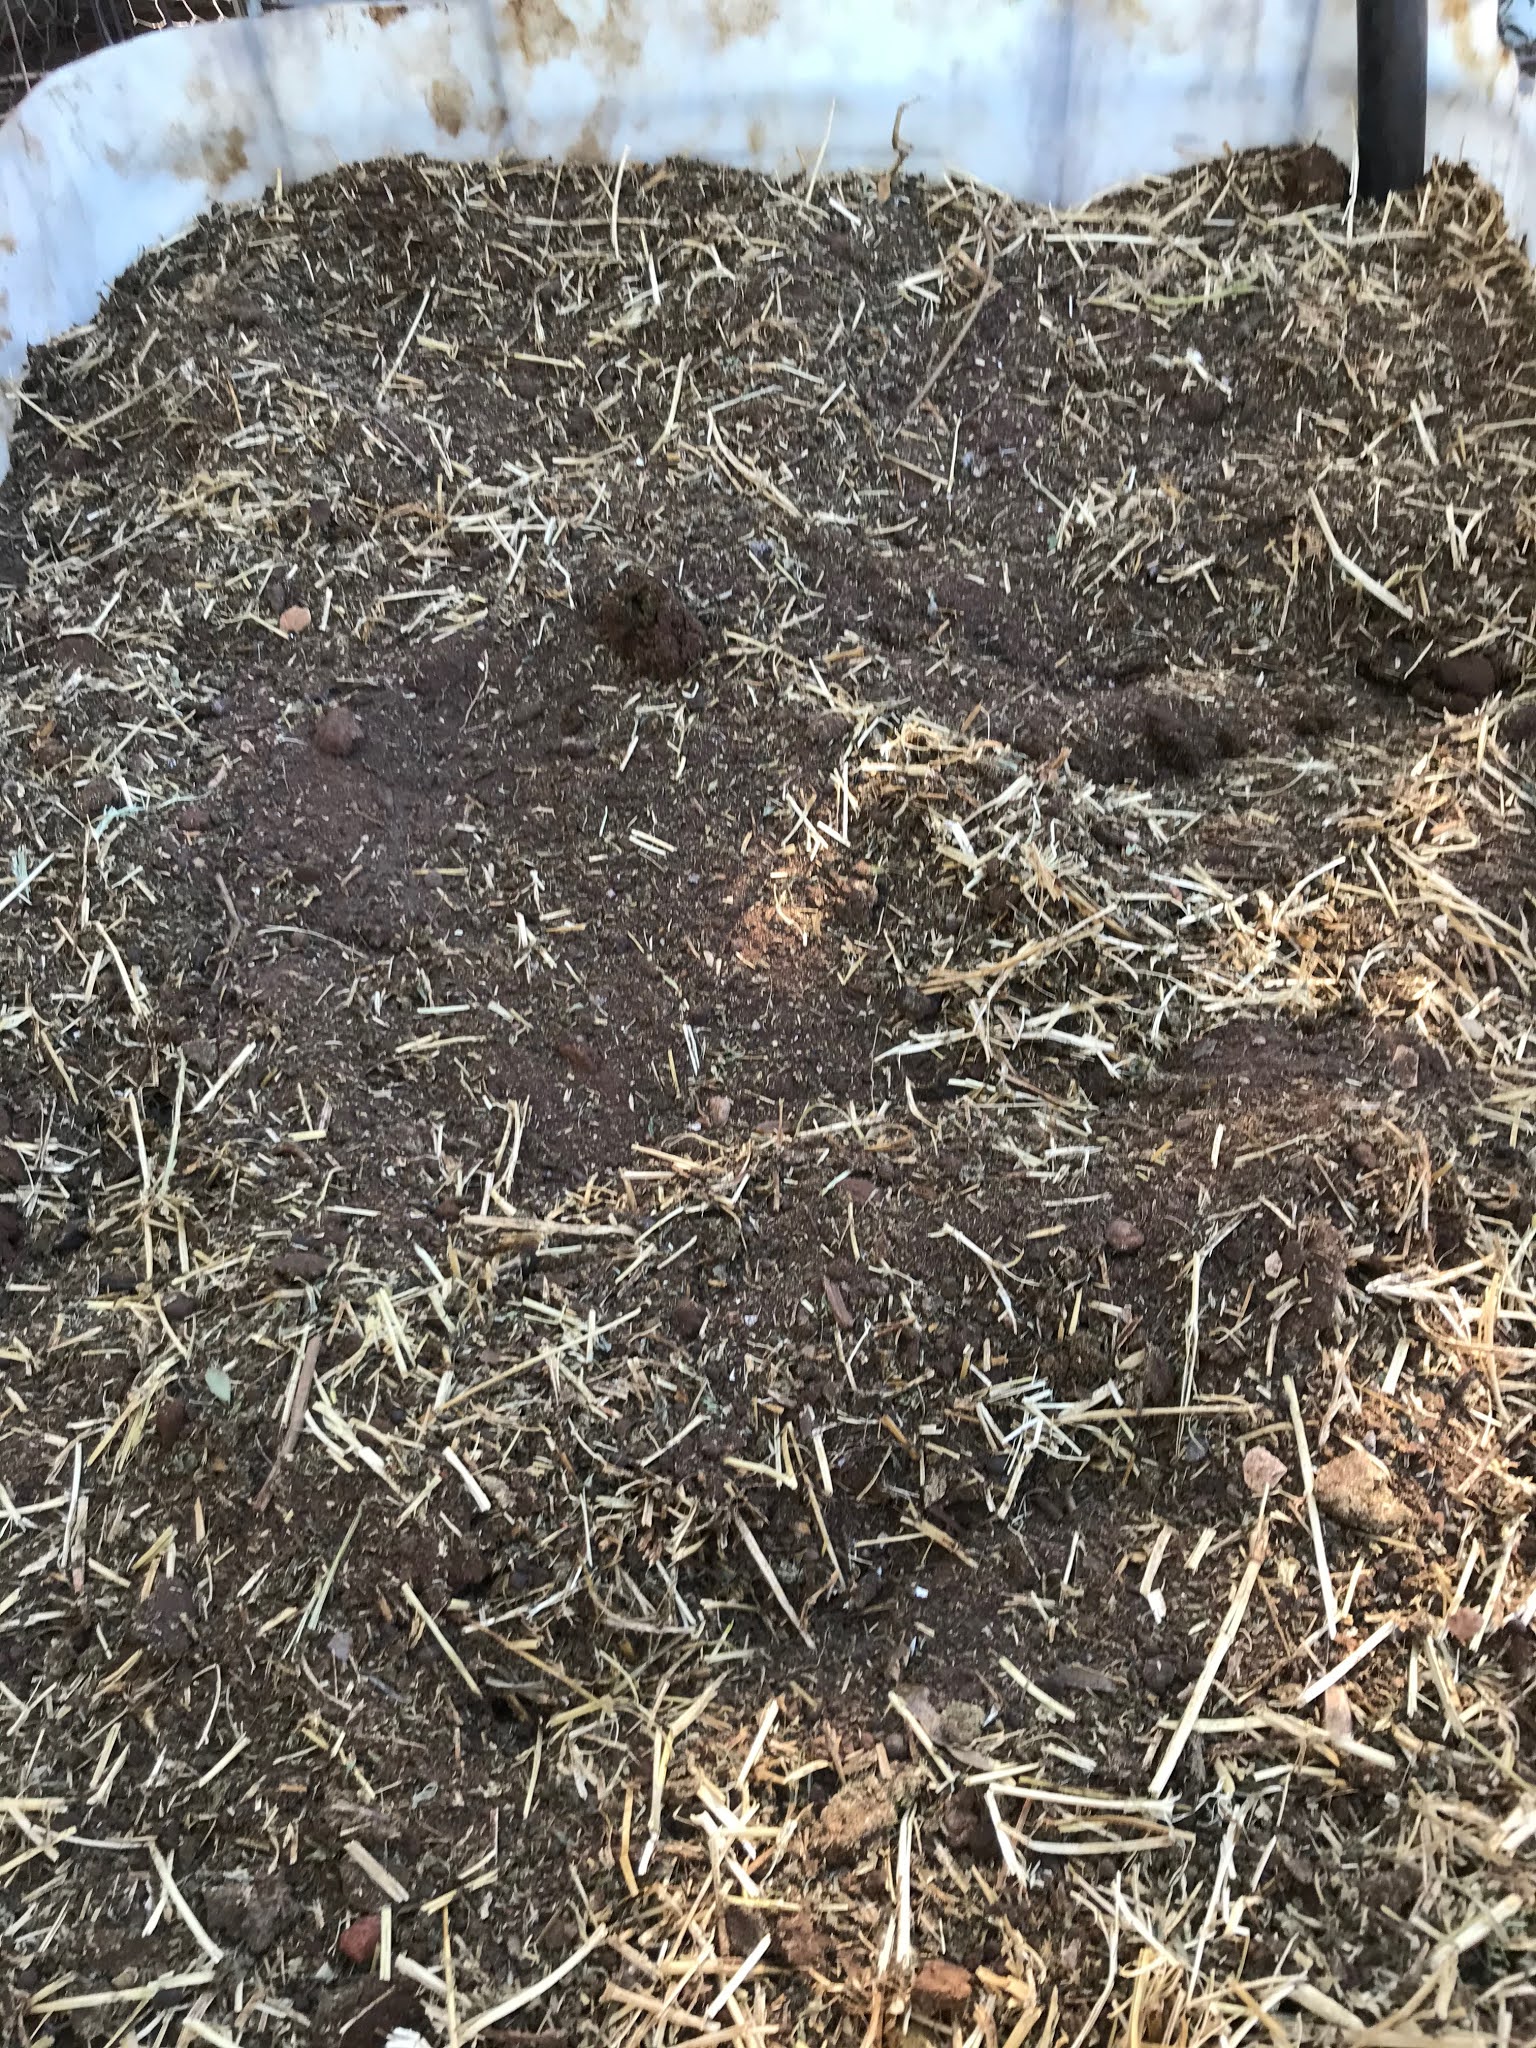

I had planted out some seeds in preparation for building these wicking beds, but I had a little room so I did plant some bean and kale seeds in one. I watered the beds for a week or so after planting just to make sure the seedlings and seeds established well and to help the soil get moist and stay moist. It really only took a couple of part days to make these beds up and the only maintenance is filling the water reservoir occasionally and adding some fertiliser either once a year for herbs or whenever you change over the plants that are growing. I'm not sure what the life span is for a wicking bed made out of one of these pods, but I'd imagine that they'll last many years.
You can pretty the pods up by lining the outside with timber or even sheets of tin for a rustic look, but I don't really mind the look of these as they are. I'll include another link for a design I came across recently from Limestone Permaculture.
No comments:
Post a Comment